Today, we’re announcing Claude Opus 4.7 in Amazon Bedrock, Anthropic’s most intelligent Opus model for advancing performance across coding, long-running agents, and professional work.
Claude Opus 4.7 is powered by Amazon Bedrock’s next generation inference engine, delivering enterprise-grade infrastructure for production workloads. Bedrock’s new inference engine has brand-new scheduling and scaling logic which dynamically allocates capacity to requests, improving availability particularly for steady-state workloads while making room for rapidly scaling services. It provides zero operator access—meaning customer prompts and responses are never visible to Anthropic or AWS operators—keeping sensitive data private.
According to Anthropic, Claude Opus 4.7 model provides improvements across the workflows that teams run in production such as agentic coding, knowledge work, visual understanding,long-running tasks. Opus 4.7 works better through ambiguity, is more thorough in its problem solving, and follows instructions more precisely.
- Agentic coding: The model extends Opus 4.6’s lead in agentic coding, with stronger performance on long-horizon autonomy, systems engineering, and complex code reasoning tasks. According to Anthropic, the model records high-performance scores with 64.3% on SWE-bench Pro, 87.6% on SWE-bench Verified, and 69.4% on Terminal-Bench 2.0.
- Knowledge work: The model advances professional knowledge work, with stronger performance on document creation, financial analysis, and multi-step research workflows. The model reasons through underspecified requests, making sensible assumptions and stating them clearly, and self-verifies its output to improve quality on the first step. According to Anthropic, the model reaches 64.4% on Finance Agent v1.1.
- Long-running tasks: The model stays on track over longer horizons, with stronger performance over its full 1M token context window as it reasons through ambiguity and self-verifies its output.
- Vision: the model adds high-resolution image support, improving accuracy on charts, dense documents, and screen UIs where fine detail matters.
The model is an upgrade from Opus 4.6 but may require prompting changes and harness tweaks to get the most out of the model. To learn more, visit Anthropic’s prompting guide.
Claude Opus 4.7 model in action
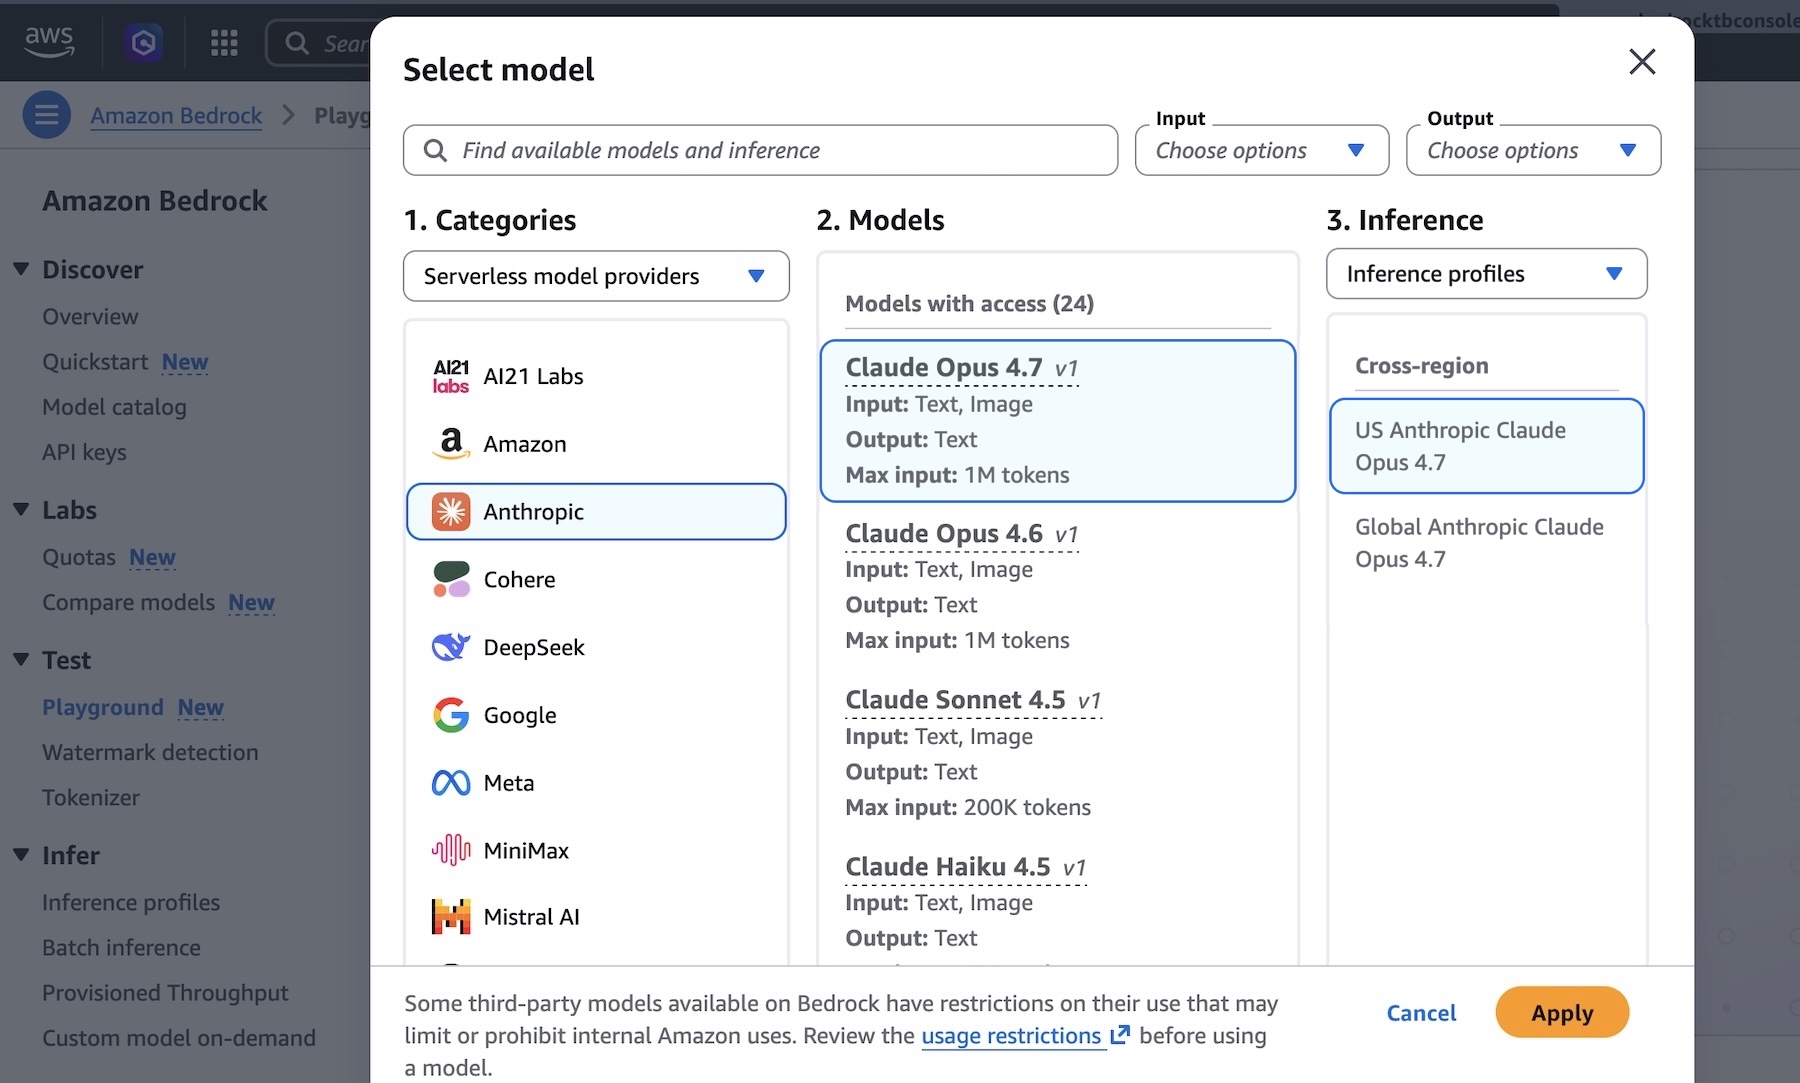
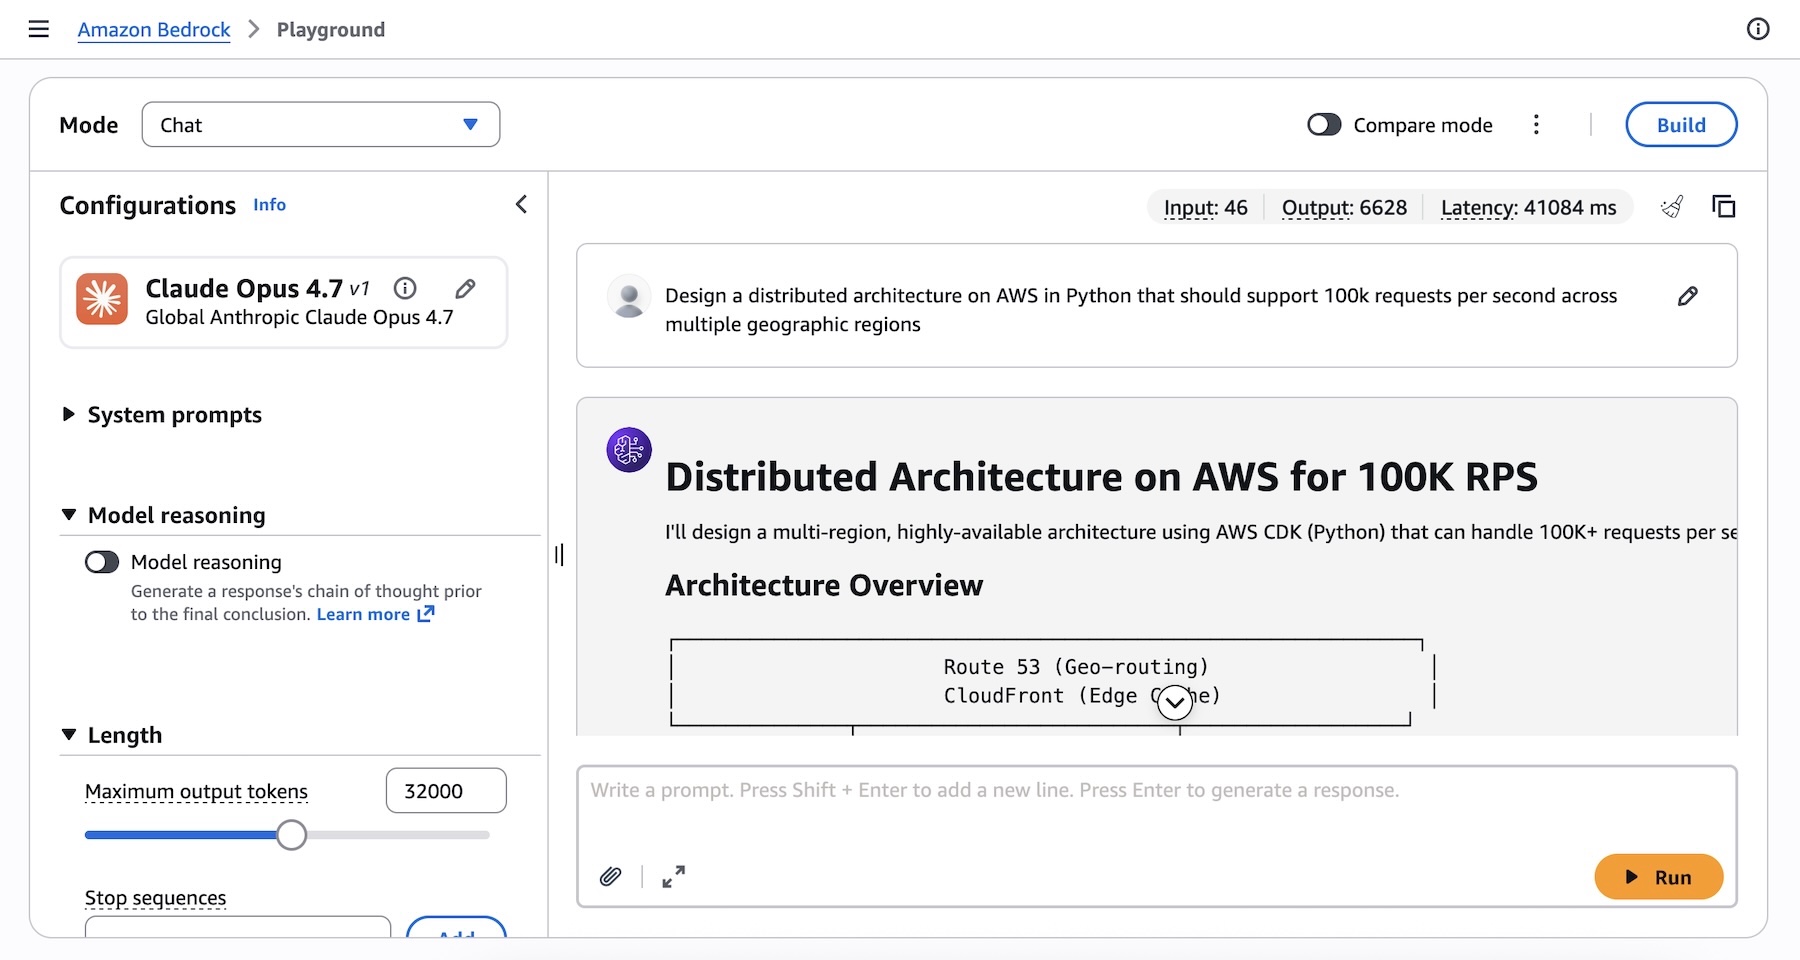
You can get started with Claude Opus 4.7 model in Amazon Bedrock console. Choose Playground under Test menu and choose Claude Opus 4.7 when you select model. Now, you can test your complex coding prompt with the model.
I run the following prompt example about technical architecture decision:
Design a distributed architecture on AWS in Python that should support 100k requests per second across multiple geographic regions.
You can also access the model programmatically using the Anthropic Messages API to call the bedrock-runtime through Anthropic SDK or bedrock-mantle endpoints, or keep using the Invoke and Converse API on bedrock-runtime through the AWS Command Line Interface (AWS CLI) and AWS SDK.
To get started with making your first API call to Amazon Bedrock in minutes, choose Quickstart in the left navigation pane in the console. After choosing your use case, you can generate a short term API key to authenticate your requests as testing purpose.
When you choose the API method such as the OpenAI-compatible Responses API, you can get sample codes to run your prompt to make your inference request using the model.

To invoke the model through the Anthropic Claude Messages API, you can proceed as follows using anthropic[bedrock] SDK package for a streamlined experience:
from anthropic import AnthropicBedrockMantle
# Initialize the Bedrock Mantle client (uses SigV4 auth automatically)
mantle_client = AnthropicBedrockMantle(aws_region=REGION)
# Create a message using the Messages API
message = mantle_client.messages.create(
    model="anthropic.claude-opus-4-7",
    max_tokens=2048,
    messages=[
	    {"role": "user", "content": "Design a distributed architecture on AWS in Python that should support 100k requests per second across multiple geographic regions"}
    ]
)
print(message.content[0].text)
You can also run the following command to invoke the model directly to bedrock-runtime endpoint using the AWS CLI and the Invoke API:
aws bedrock-runtime invoke-model
 --model-id anthropic.claude-opus-4-7
 --region us-east-1
 --body '{"messages": [{"role": "user", "content": "Design a distributed architecture on AWS in Python that should support 100k requests per second across multiple geographic regions."}], "max_tokens": 512, "temperature": 0.5, "top_p": 0.9}'
 --cli-binary-format raw-in-base64-out
invoke-model-output.txt
For more intelligent reasoning capability, you can use Adaptive thinking with Claude Opus 4.7, which lets Claude dynamically allocate thinking token budgets based on the complexity of each request.
To learn more, visit the Anthropic Claude Messages API and check out code examples for multiple use cases and a variety of programming languages.
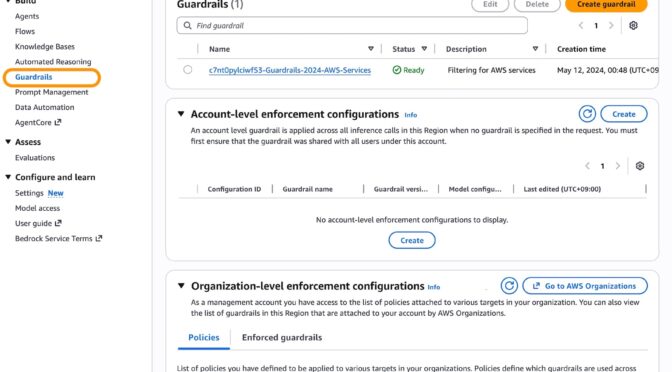
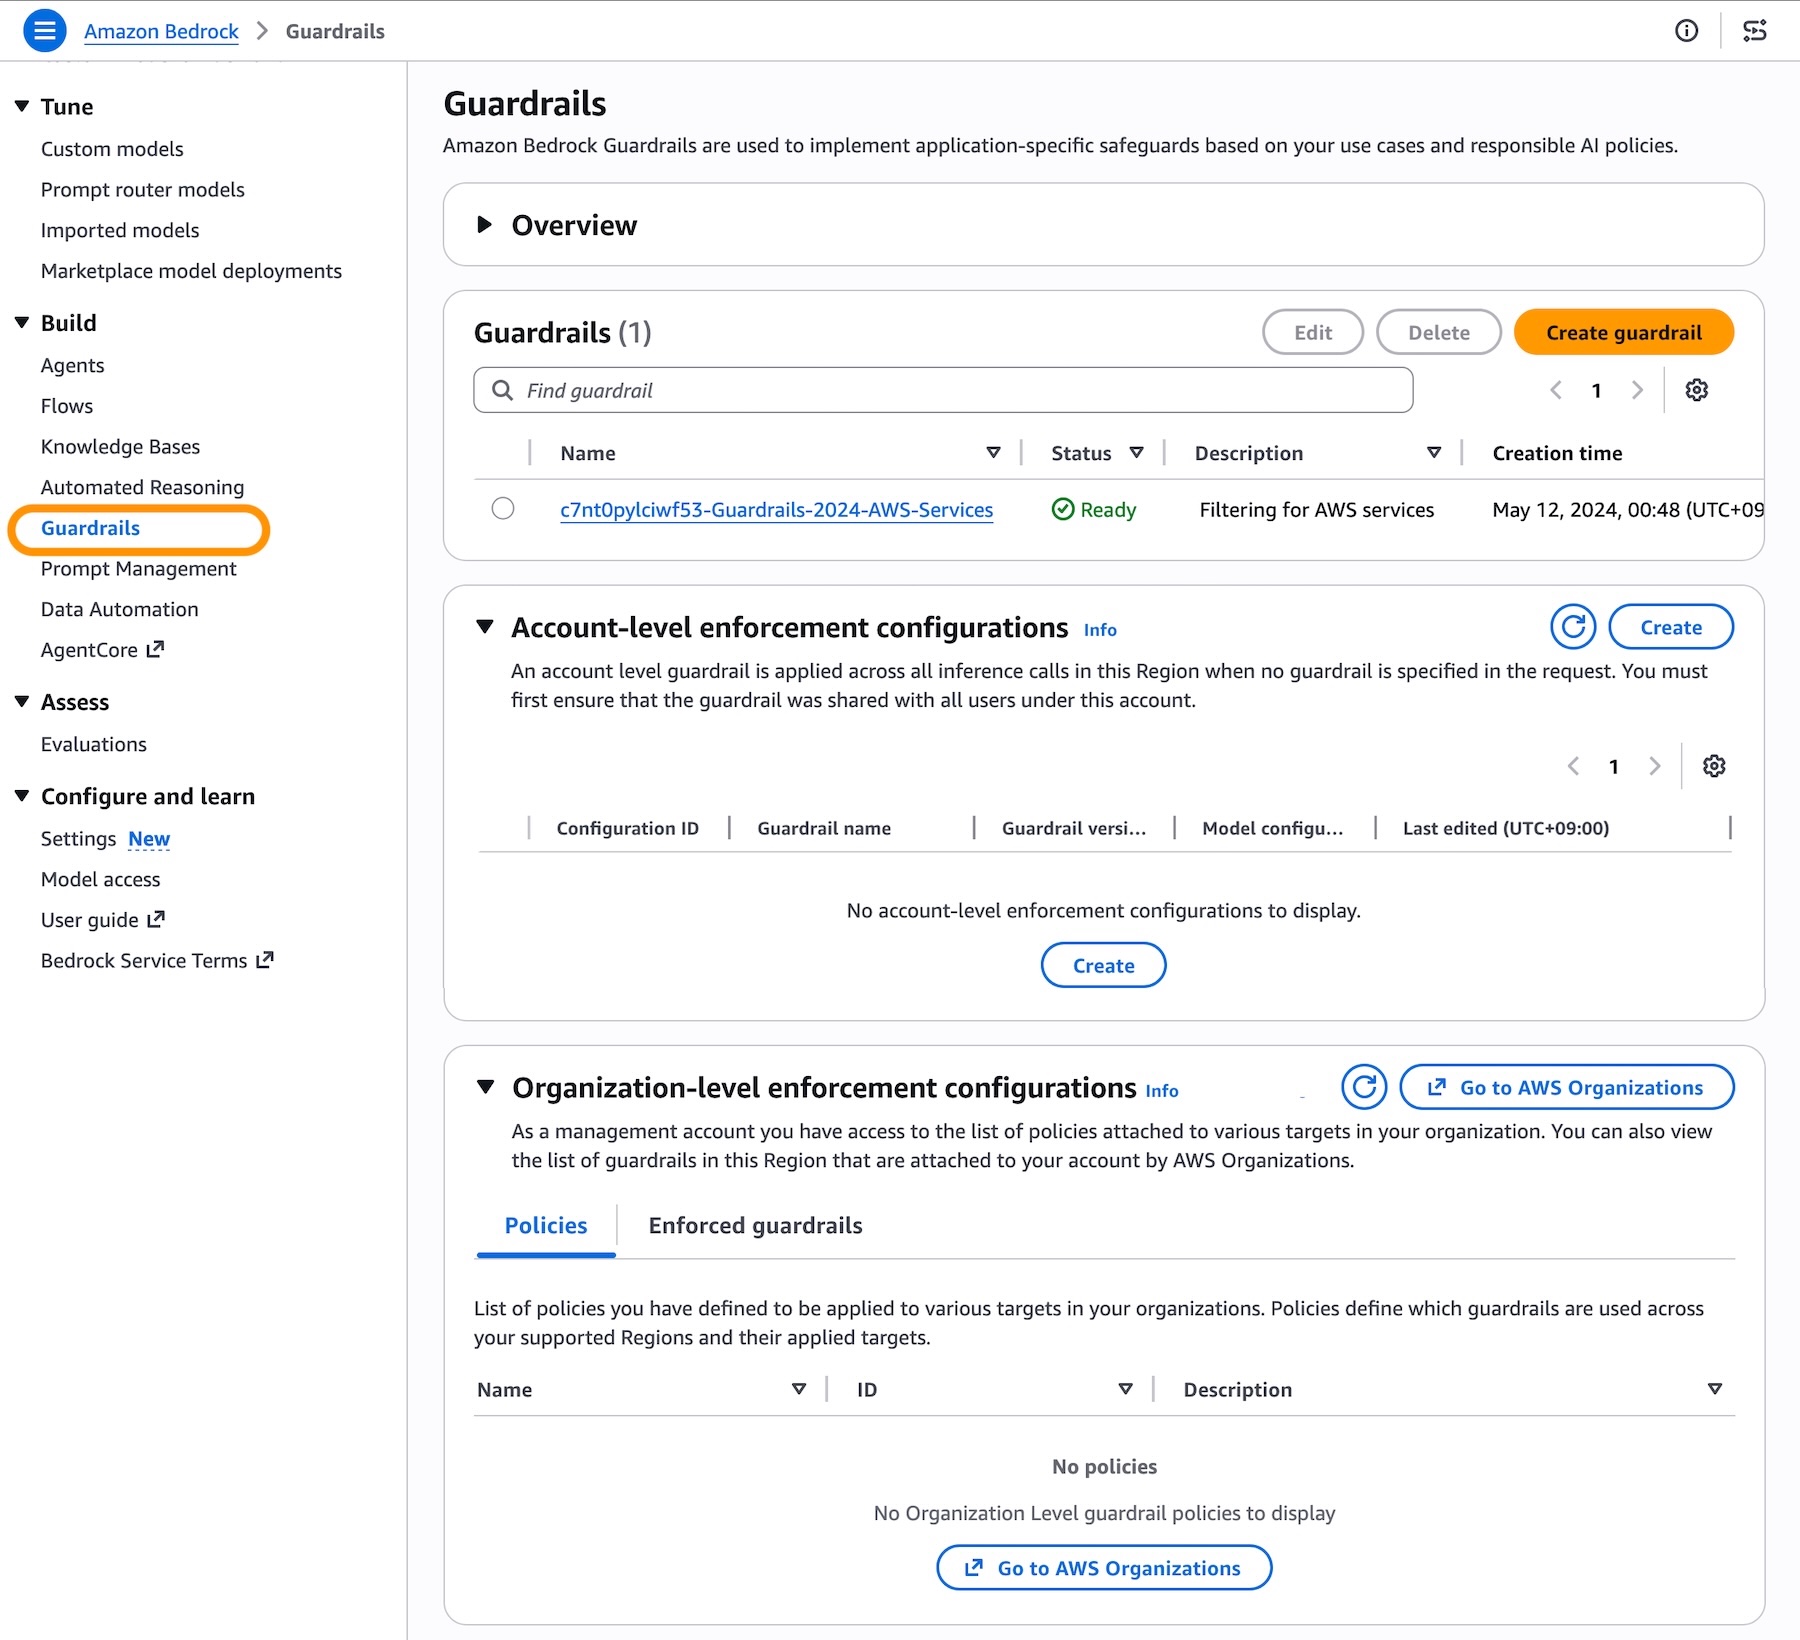
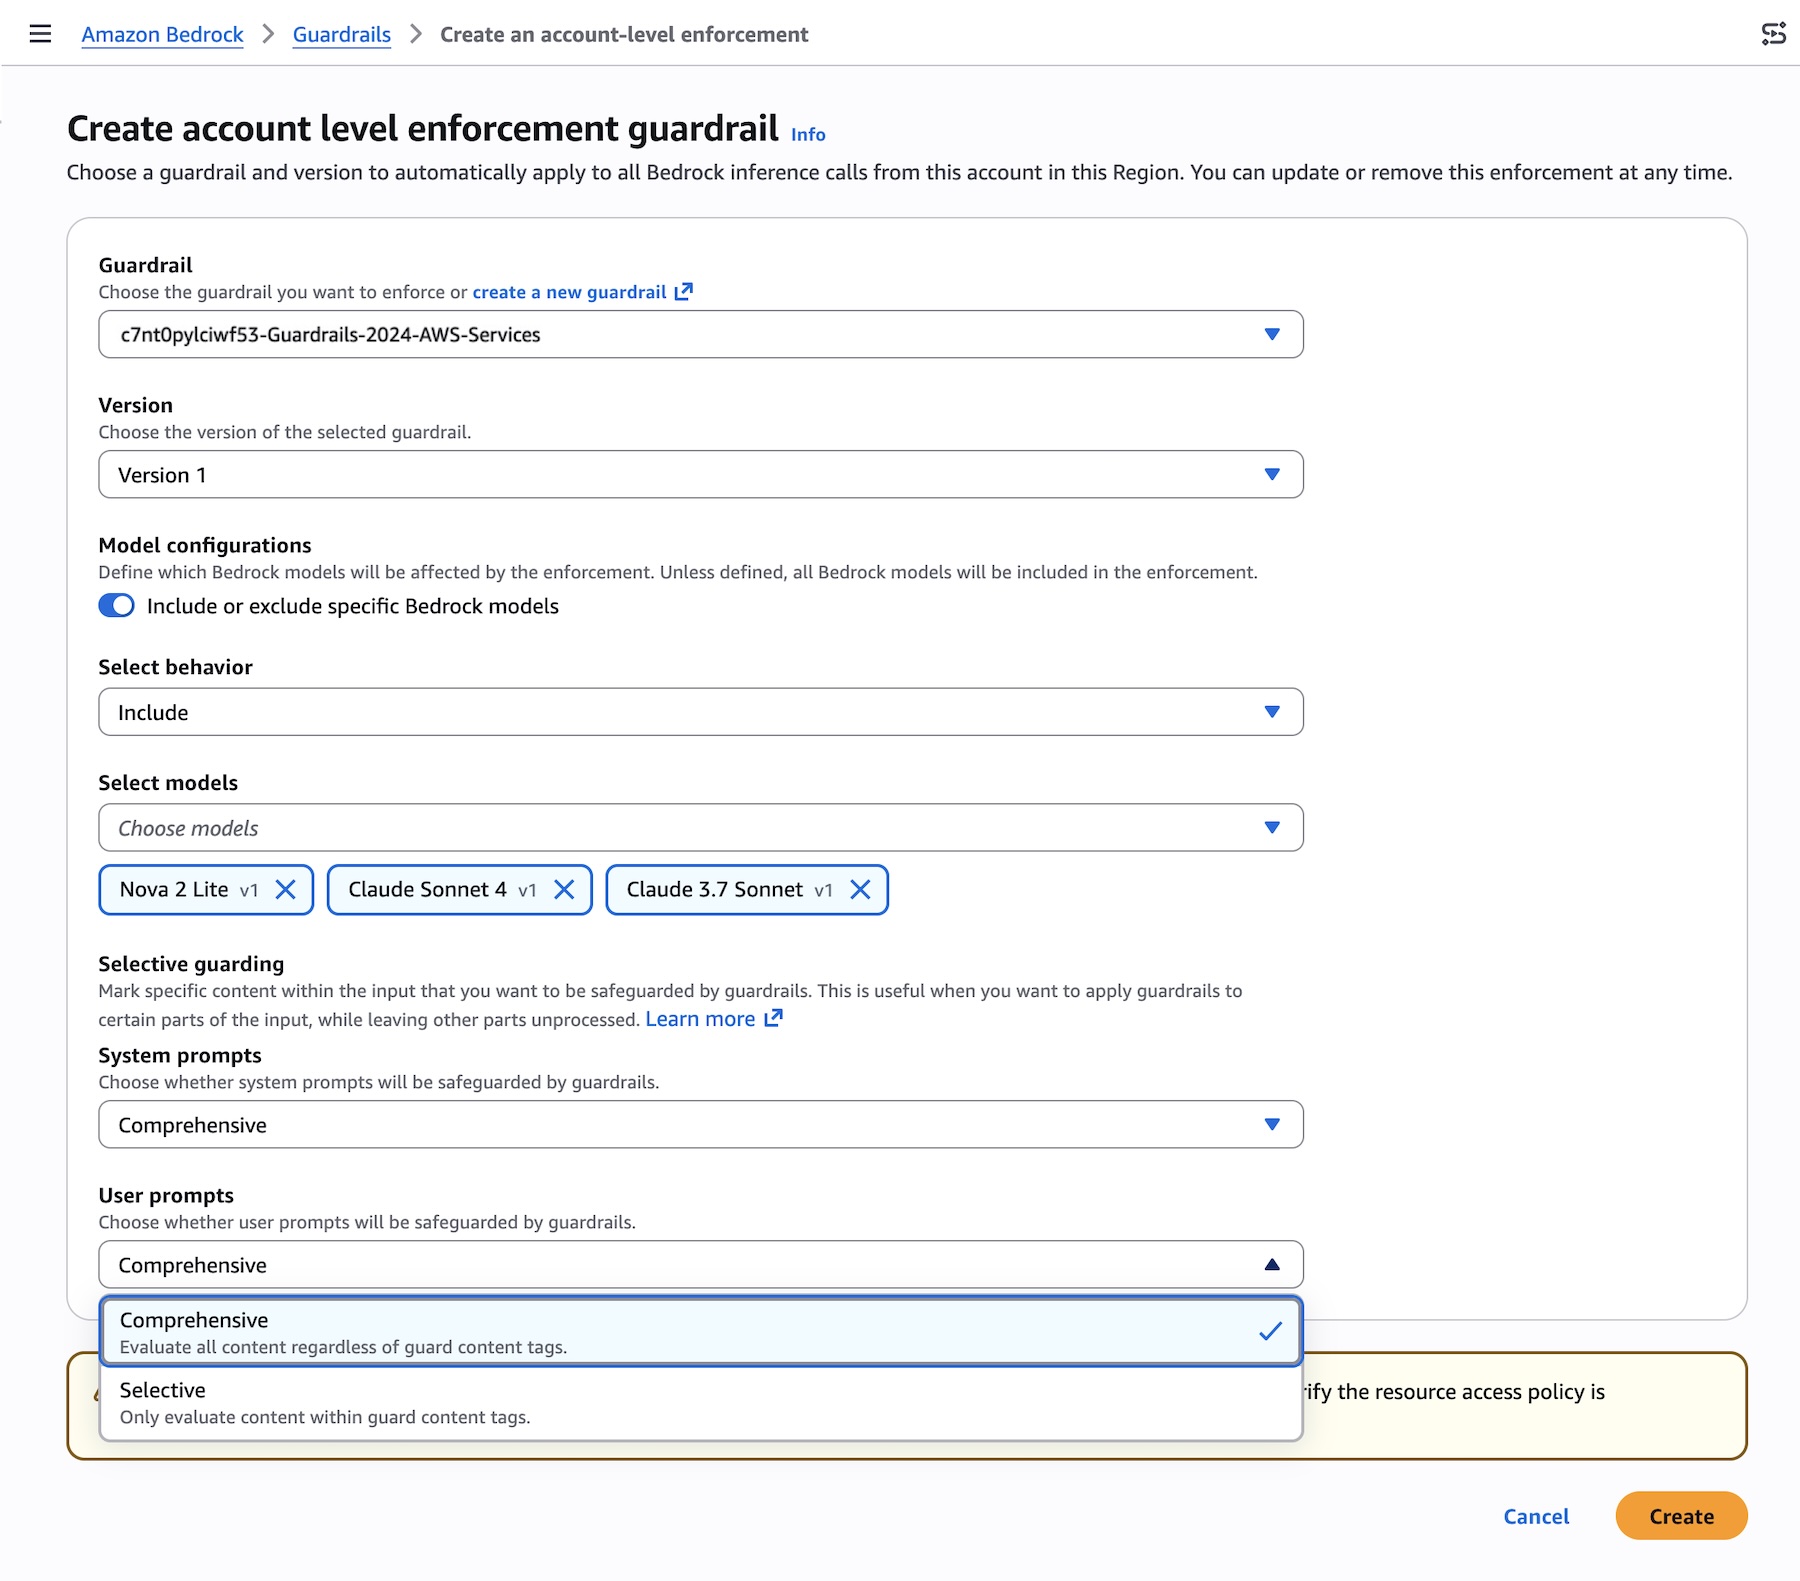
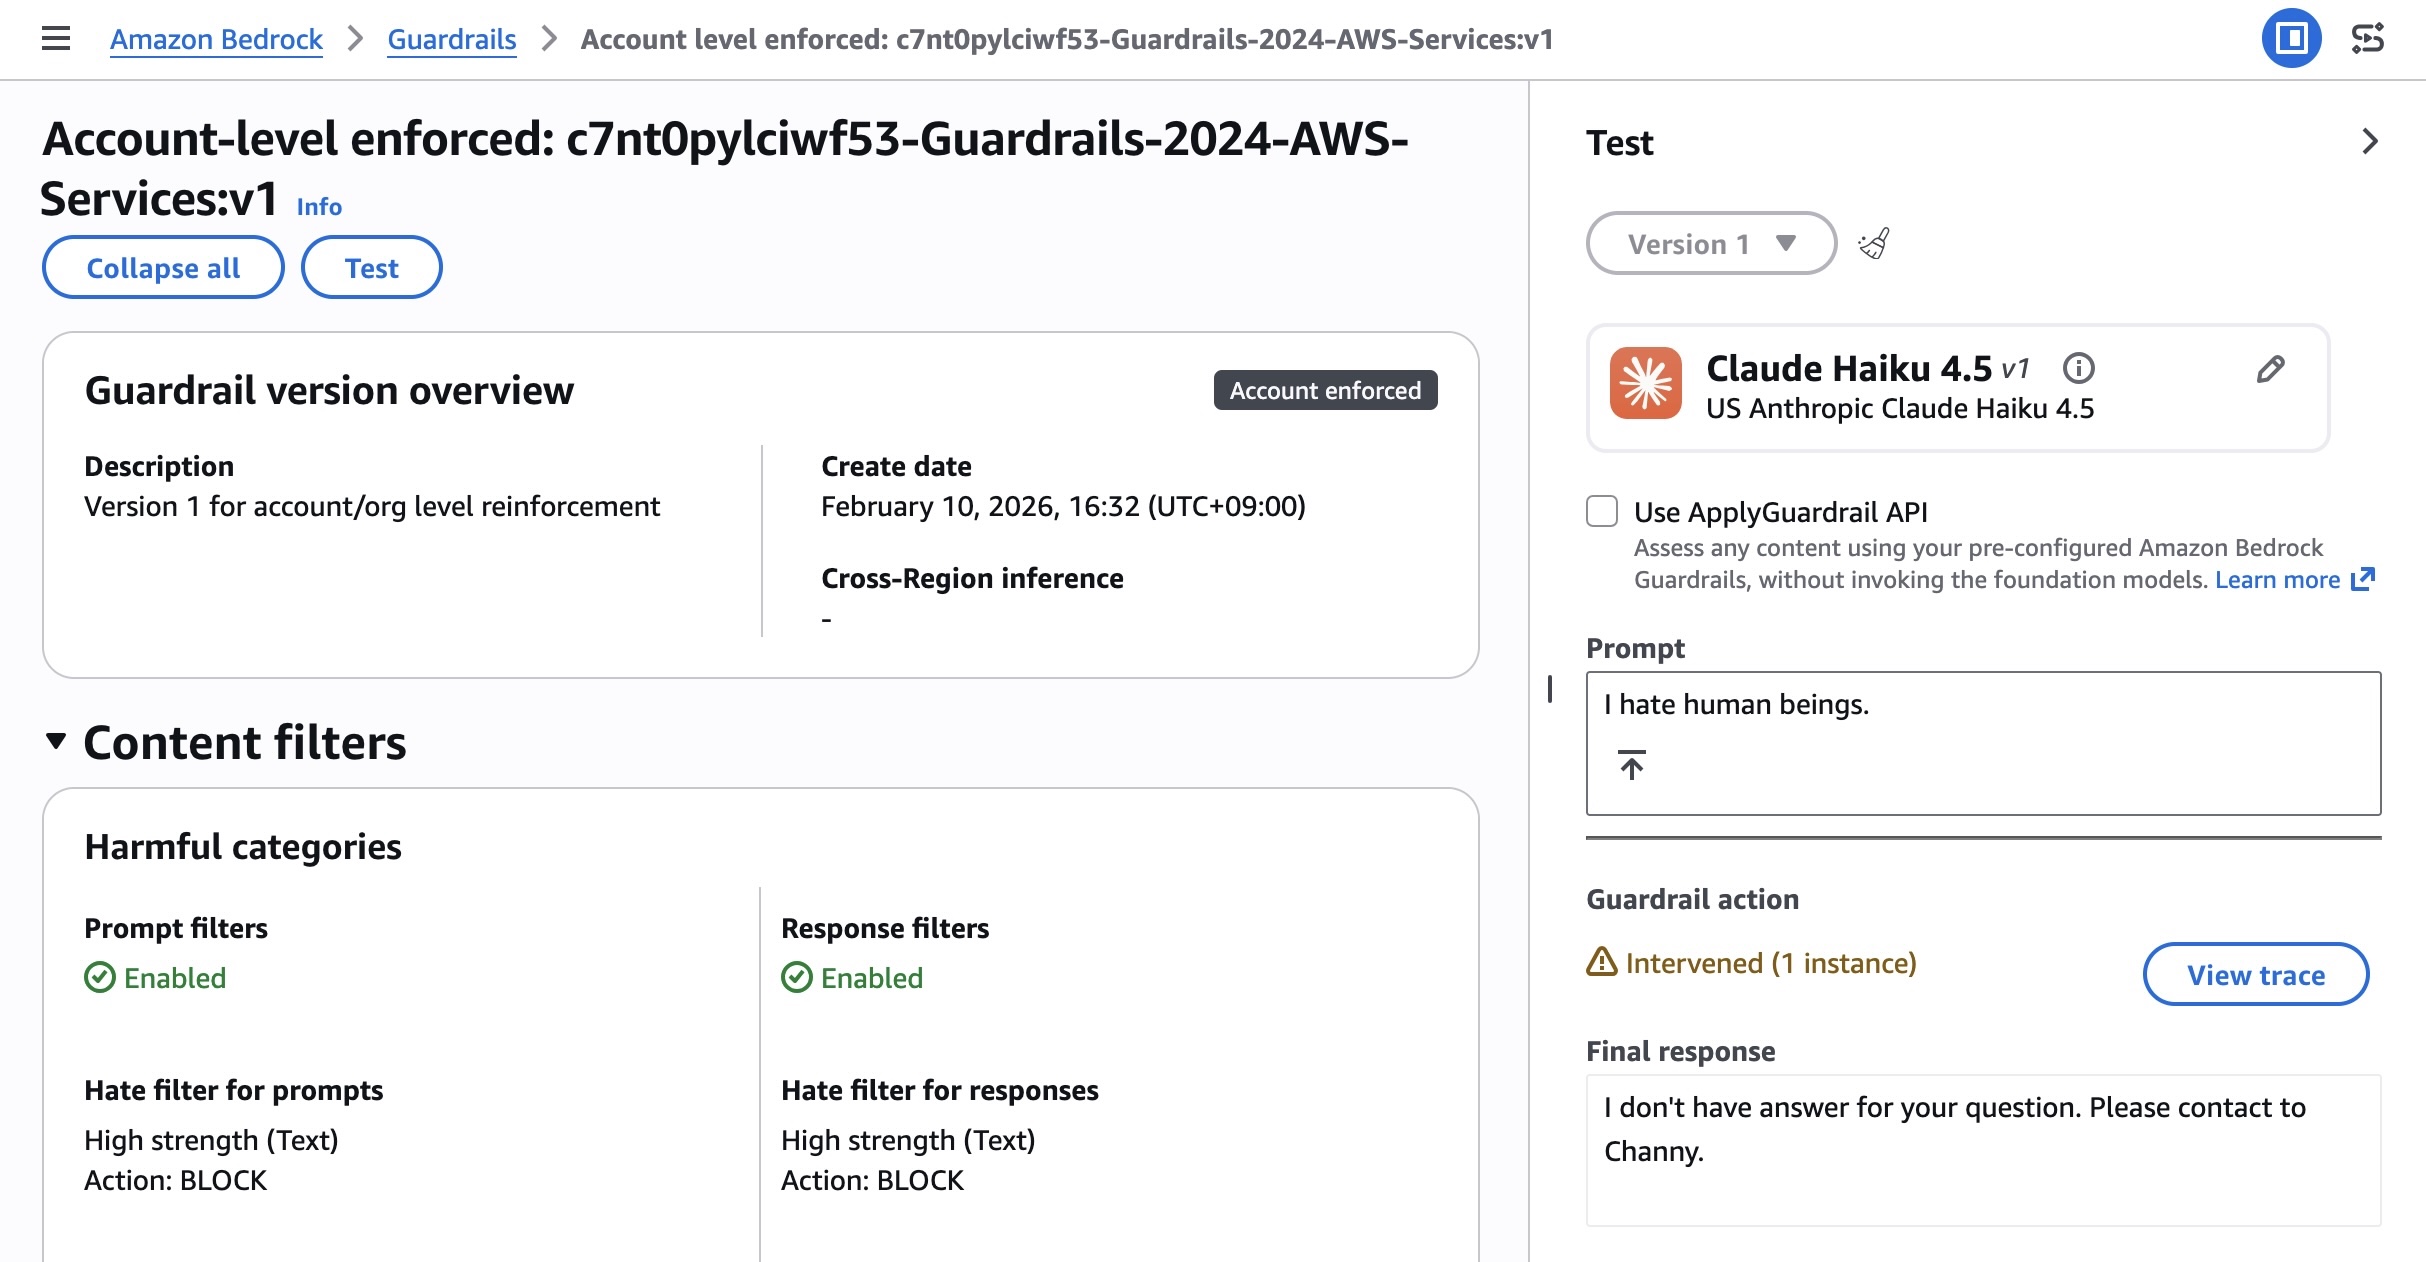
Things to know
Let me share some important technical details that I think you’ll find useful.
- Choosing APIs: You can choose from a variety of Bedrock APIs for model inference, as well as the Anthropic Messages API. The Bedrock-native Converse API supports multi-turn conversations and Guardrails integration. The Invoke API provides direct model invocation and lowest-level control.
- Scaling and capacity: Bedrock’s new inference engine is designed to rapidly provision and serve capacity across many different models. When accepting requests, we prioritize keeping steady state workloads running, and ramp usage and capacity rapidly in response to changes in demand. During periods of high demand, requests are queued, rather than rejected. Up to 10,000 requests per minute (RPM) per account per Region are available immediately, with more available upon request.
Now available
Anthropic’s Claude Opus 4.7 model is available today in the US East (N. Virginia), Asia Pacific (Tokyo), Europe (Ireland), and Europe (Stockholm) Regions; check the full list of Regions for future updates. To learn more, visit the Claude by Anthropic in Amazon Bedrock page and the Amazon Bedrock pricing page.
Give Anthropic’s Claude Opus 4.7 a try in the Amazon Bedrock console today and send feedback to AWS re:Post for Amazon Bedrock or through your usual AWS Support contacts.
— Channy


 AWS has reached its 20th anniversary! With a steady pace of innovation, AWS has grown to offer over 240 comprehensive cloud services and continues to launch thousands of new features annually for millions of customers. During this time, over 4,700 posts have been published on this blog—more than double the number since