This
post was originally published on
this site[This is a Guest Diary by Fares Azhari, an ISC intern as part of the SANS.edu BACS program]
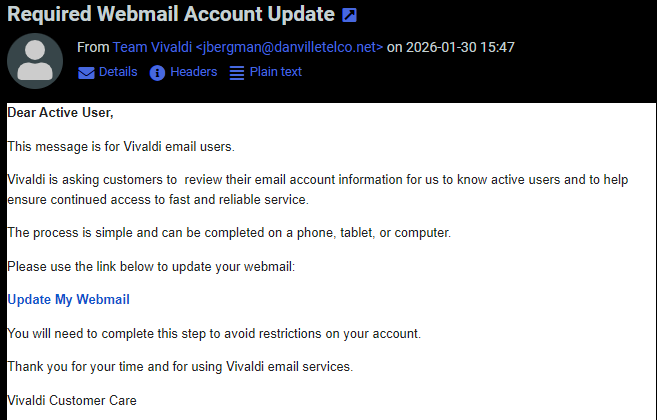
Romance scams are a form of social-engineering fraud that causes both financial and emotional harm. They vary in technique and platform, but most follow the same high-level roadmap: initial contact, relationship building, financial exploitation. In this blog post I focus on the initial stages of the romance scam ? how scammers make contact, build rapport, and prime victims for later financial requests.
I was contacted by two separate romance scammers on WhatsApp. I acted like a victim falling for their scam and spent around two weeks texting each one. This allowed me to observe the first few phases, which we discuss below. I was not able to reach the monetization phase, as that often takes months and I could not maintain the daily time investment needed to convince the scammers I was fully falling for it.
The scammers claimed to be called ?Chloe? and ?Verna?. We use these names throughout to differentiate their messages. Snippets from each are included to illustrate the phases, along with my precursor or response messages.
Phase 1: Initial contact
Both conversations began the same way ? the sender claimed they had messaged the wrong person.
Verna:

Chloe:

That ?wrong-number? ruse is low effort and high reward. It gives the out-of-the-blue message a plausible reason, invites a short helpful reply, and lowers suspicion. Two small but useful fingerprints appear immediately: random capitalization and awkward grammar. These recur later and help identify when different operators are involved.
Phase 2: The immediate hook
If you reply politely, the scammer usually responds with an over-the-top compliment:
Verna:

Chloe:

These short flattering lines serve as rapid rapport builders ? they feel personal and disarming.
Phase 3: Establishing identity and credibility
After a few messages, both claimed to be foreigners working in the UK:
Verna:

When asked what she does for a living:

When asked to explain her job:

Chloe:

When asked how COVID affected her life:

When asked about her job:

When asked what made her choose business:

Both claim the same job ? Business Analyst ? which later supports credibility when discussing investments. Claiming to be foreigners explains grammatical errors and factual mistakes about the UK. Notably, job descriptions are long and well-written, lacking earlier quirks ? suggesting prewritten, copy-pasted content. This points to a playbook: flatter the target, establish credibility with occupation and location cover, then use scripted replies where legitimacy matters.
Phase 4: The hand-off
After a few days of texting, both explained they were using a business number and asked to move to a ?personal? one:
Verna:

After I said it didn?t bother me to switch:

Chloe:

After the switch:

The excuse is plausible and low-friction. Once texting the new number, writing style often changes ? a strong sign of a hand-off to a different operator or team focused on long-term grooming.
Phase 5: The grooming phase (signs of a different operator)
The writing style shift is clear on the new numbers:
Verna:
When asked if she made friends at work:

When asked to share a steak recipe:

Chloe:
When asked what languages she speaks:

When asked about her studies:

When asked about work stress:

Responses show weaker English: more basic grammar errors, shorter sentences, quicker replies, daily ?Good morning? routines, and frequent (likely stolen or AI-generated) photos. These changes strongly indicate a hand-off.
Phase 6: Credibility building
By the second week both began describing financial success and sent images of cars, apartments, gym visits, and meals to build trust:
Verna:
Pictures sent when asked about her side hustle:


When asked if investments are high risk:

When asked how she chooses investments:

Photo sent saying she finished work (face covered):

Chloe:
When asked about plans for her 30s:

When asked about foundations/programs:

Property photo (Australia):

Both positioned themselves as successful investors with diversified portfolios ? building trust for future proposals. The wealth, charity, and expertise narratives emotionally prime the target. Direct money requests usually come much later, after deep emotional commitment.
Practical advice for readers
- If you receive a random ?wrong number? message, be cautious ? do not share personal information.
- Be suspicious if someone quickly asks to move off-platform or to a new number. Stay on the original platform until identity is verified.
- Ask for a live video call ? repeated refusal is a major red flag.
- Reverse-image search any profile photos or images received.
- Never send money, gift cards, or personal documents to someone you only know online.
(c) SANS Internet Storm Center. https://isc.sans.edu Creative Commons Attribution-Noncommercial 3.0 United States License.


 ???????