 Last week, Strands Agents, AWS open source for agentic AI SDK just hit 1 million downloads and earned 3,000+ GitHub Stars less than 4 months since launching as a preview in May 2025. With Strands Agents, you can build production-ready, multi-agent AI systems in a few lines of code.
We’ve continuously improved features including support for multi-agent patterns, A2A protocol, and Amazon Bedrock AgentCore. You can use a collection of sample implementations to help you get started with building intelligent agents using Strands Agents. We always welcome your contribution and feedback to our project including bug reports, new features, corrections, or additional documentation.
Here is the latest research article of Amazon Science about the future of agentic AI and questions that scientists are asking about agent-to-agent communications, contextual understanding, common sense reasoning, and more. You can understand the technical topic of agentic AI with with relatable examples, including one about our personal behaviors about leaving doors open or closed, locked or unlocked.
Last week’s launches
Here are some launches that got my attention:
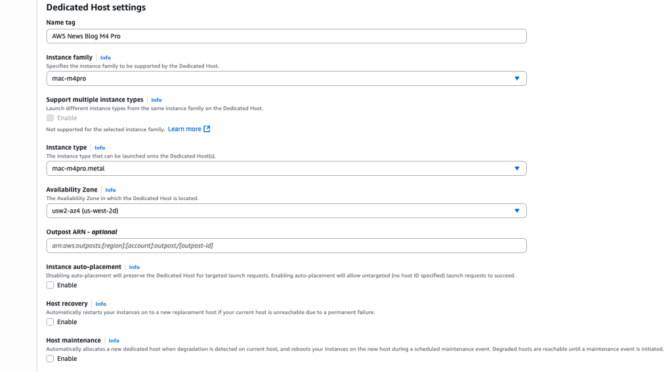
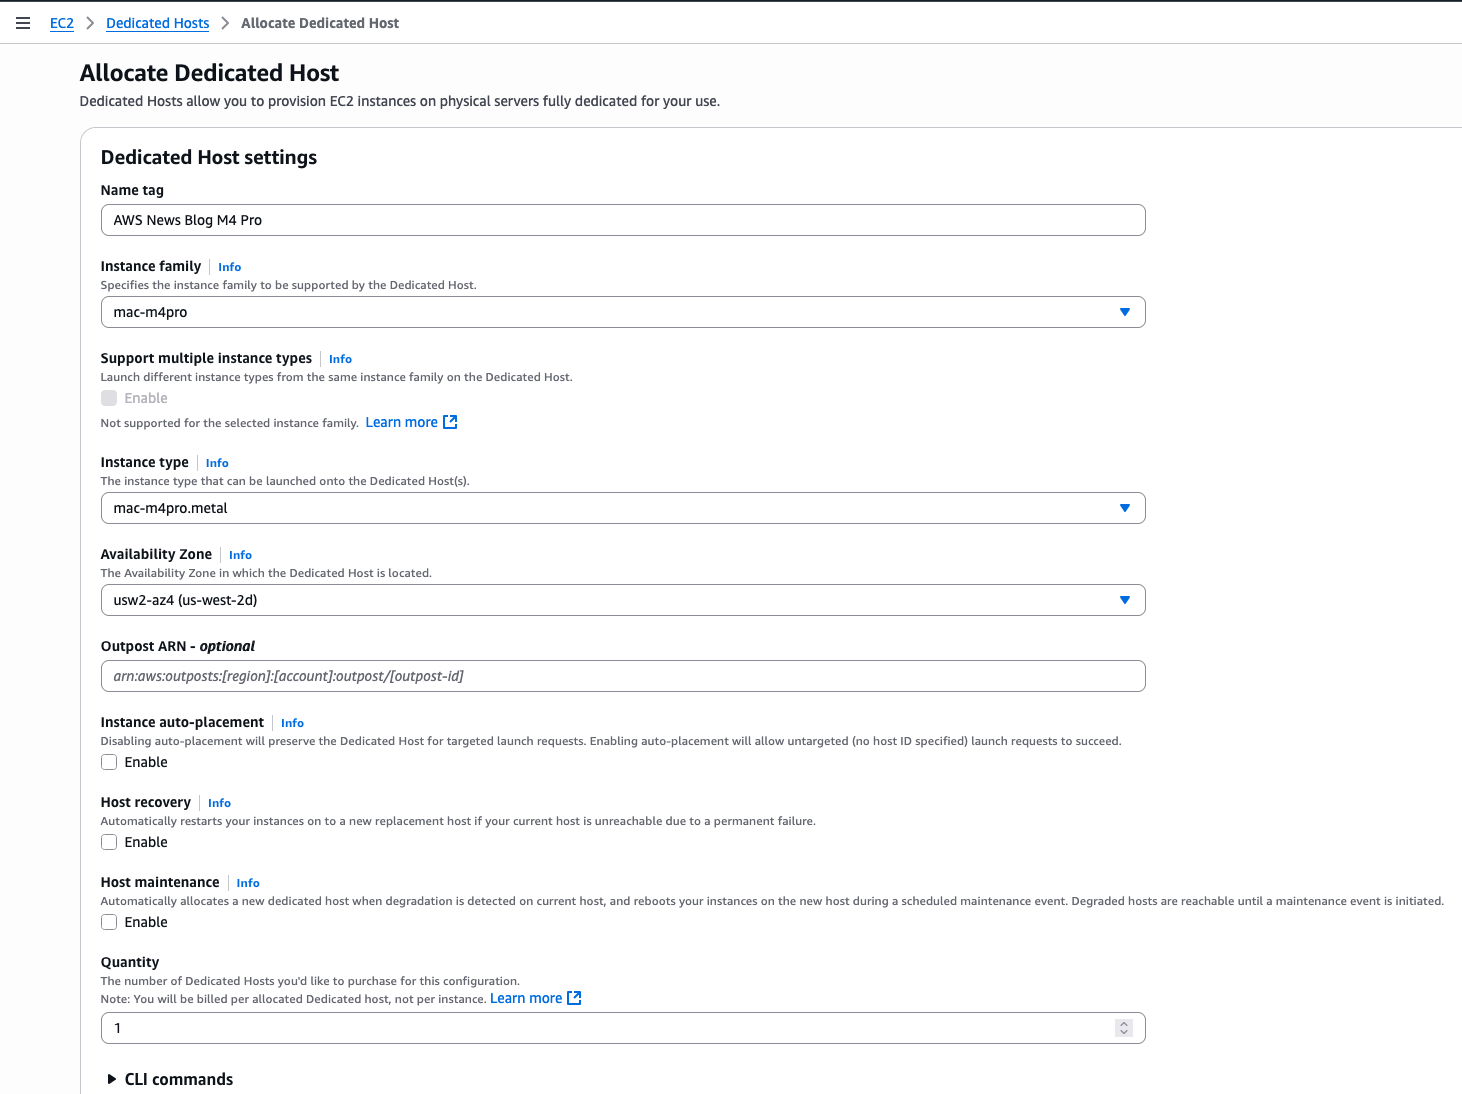
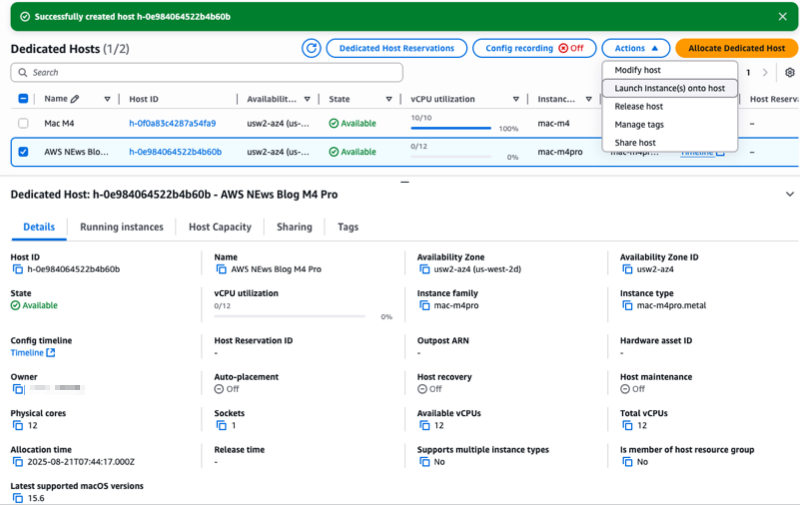
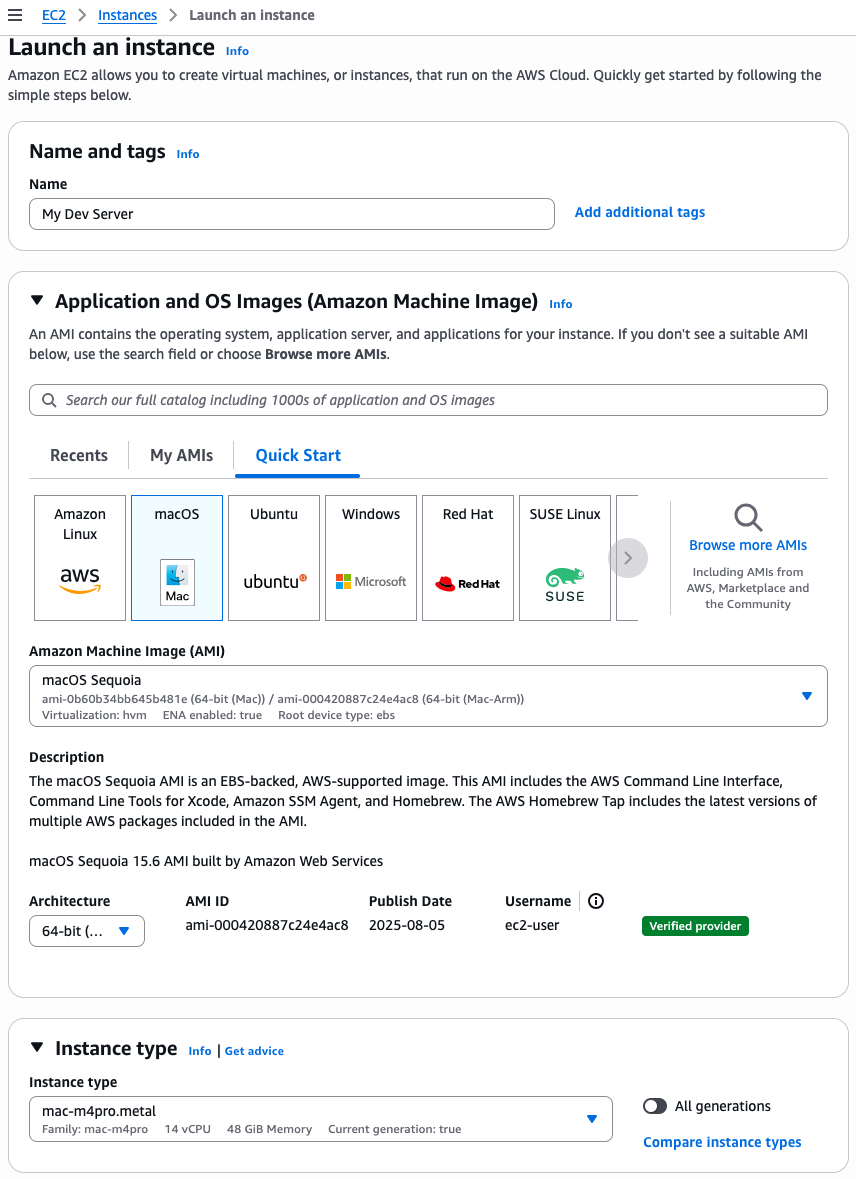
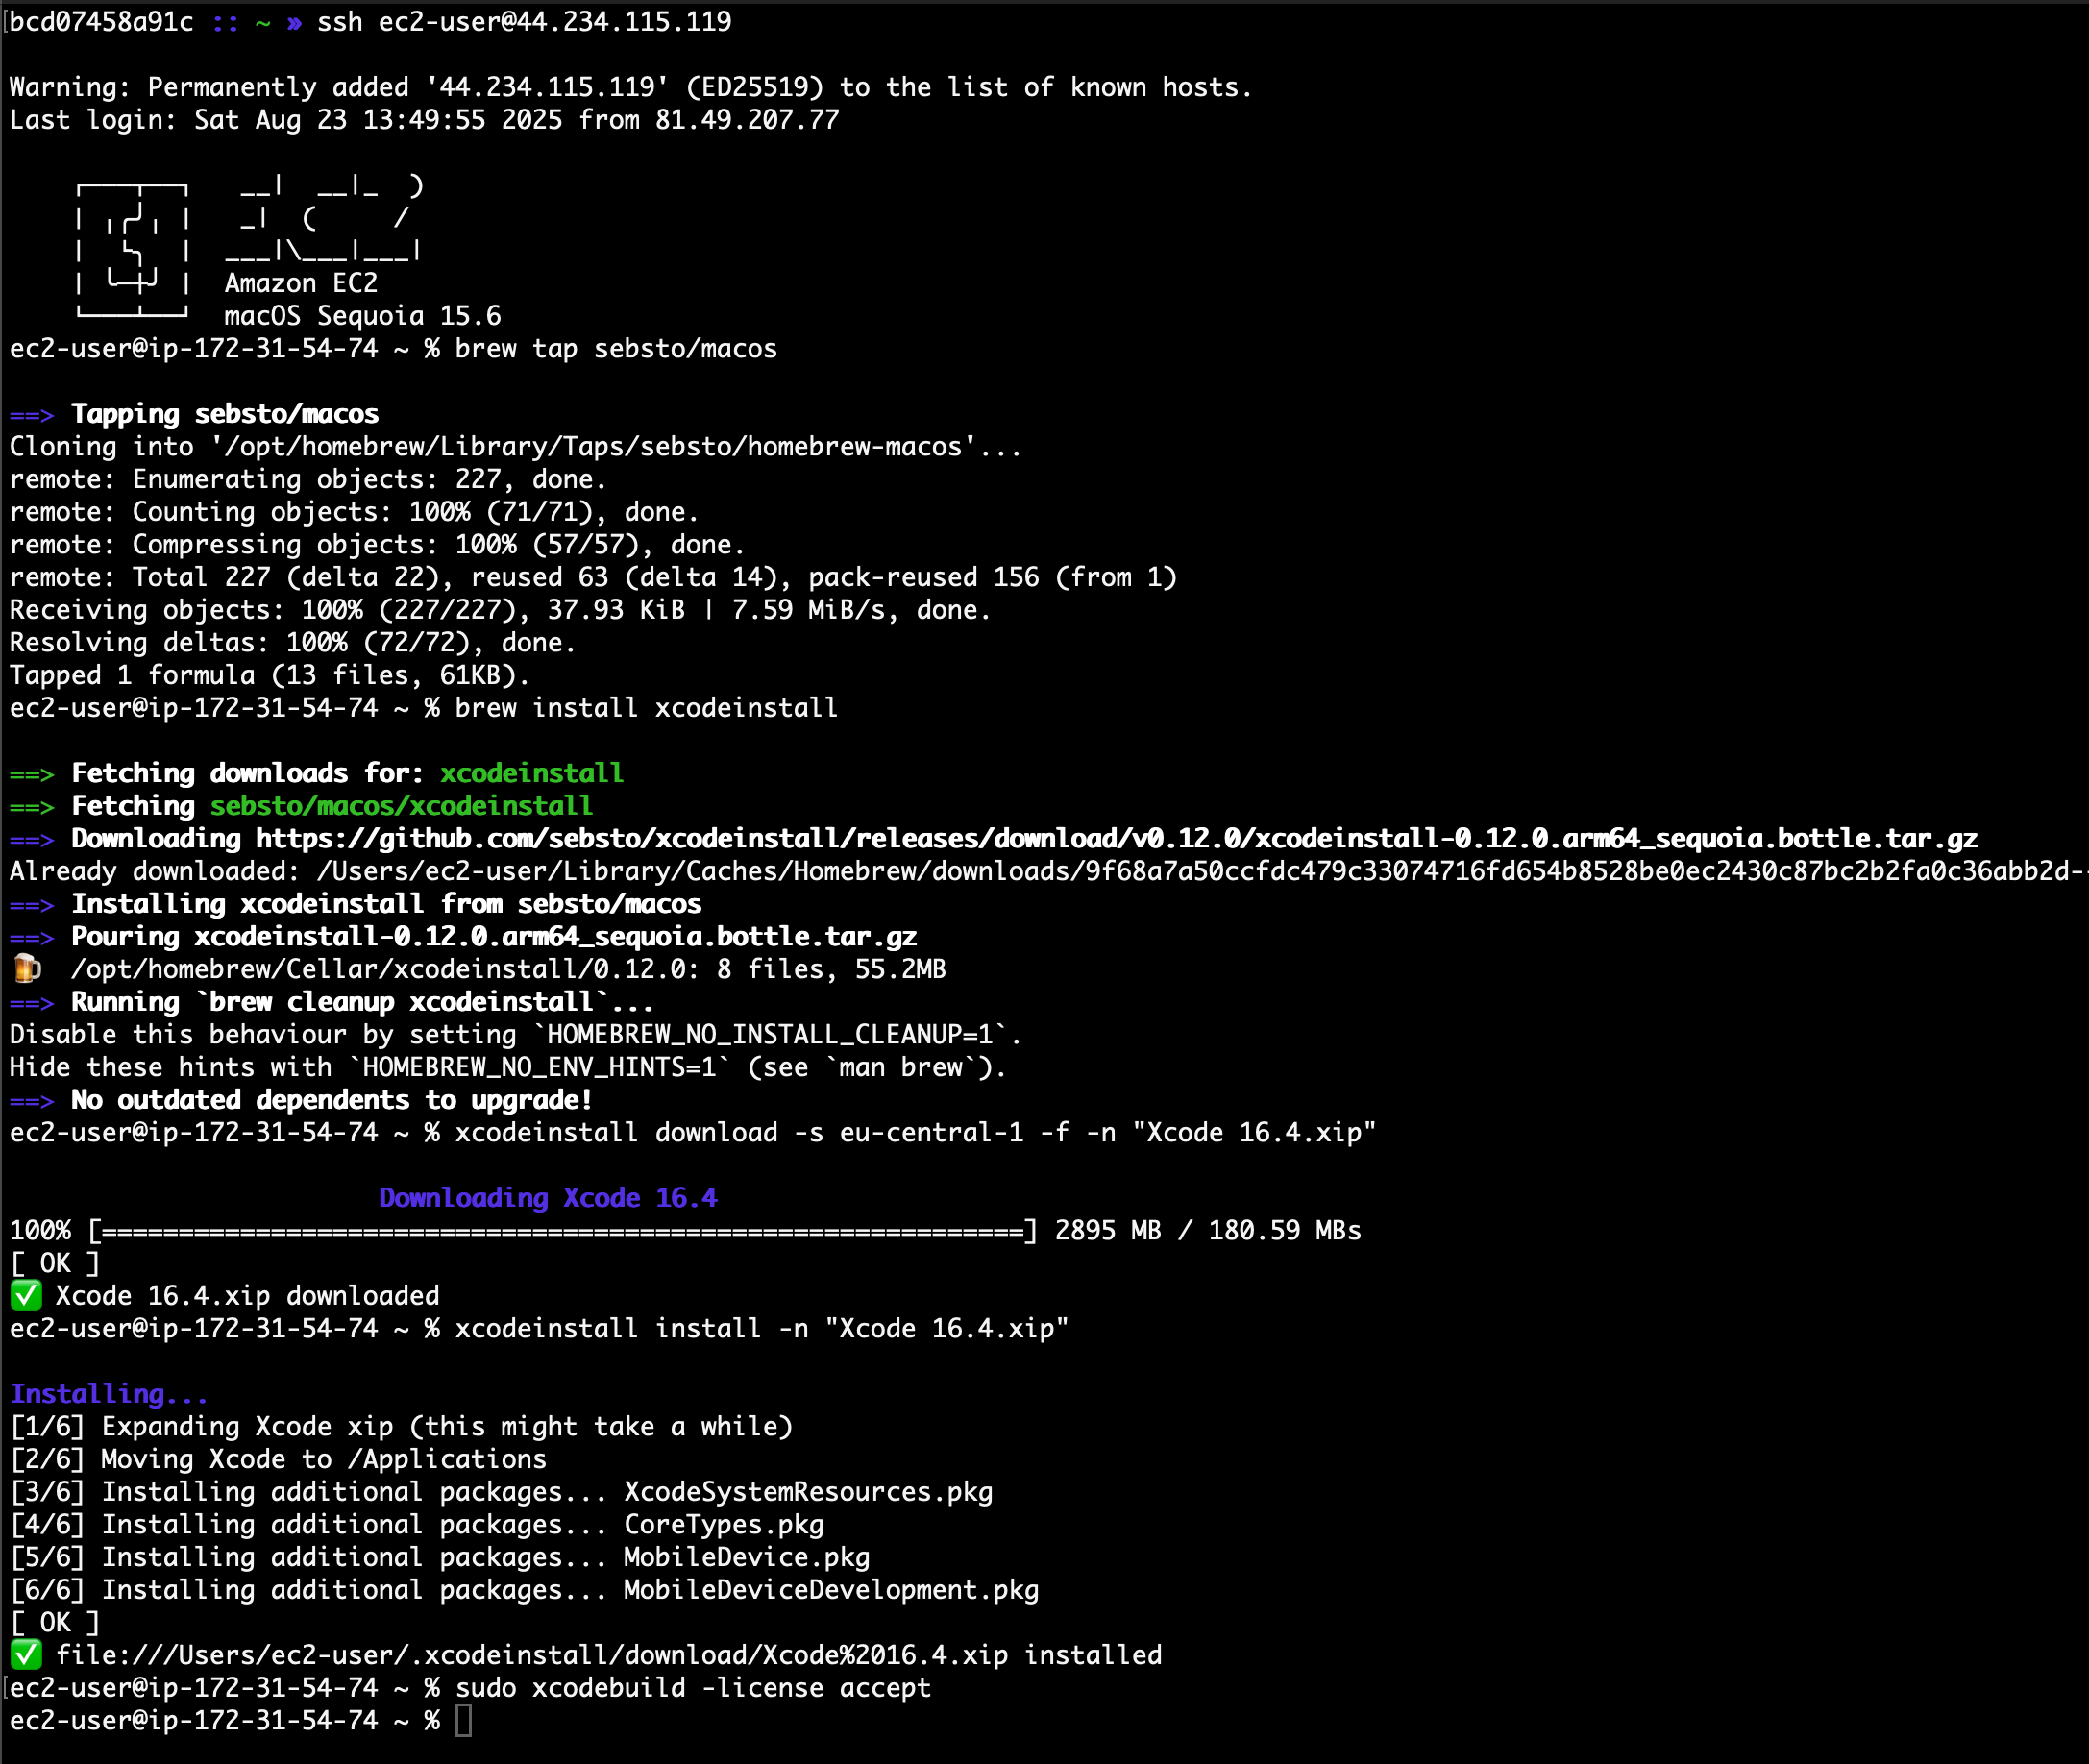
- Amazon EC2 M4 and M4 Pro Mac instances – New M4 Mac instances offer up to 20% better application build performance compared to M2 Mac instances, while M4 Pro Mac instances deliver up to 15% better application build performance compared to M2 Pro Mac instances. These instances are ideal for building and testing applications for Apple platforms such as iOS, macOS, iPadOS, tvOS, watchOS, visionOS, and Safari.
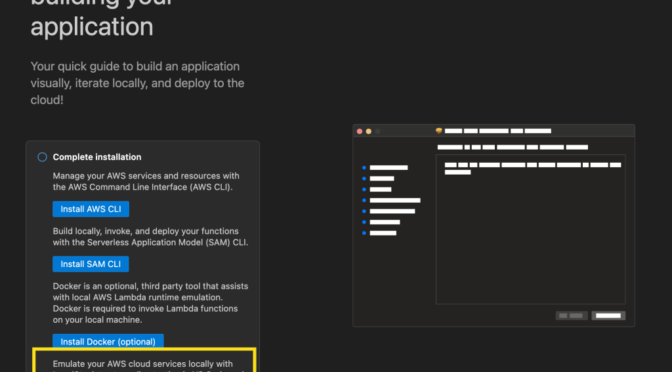
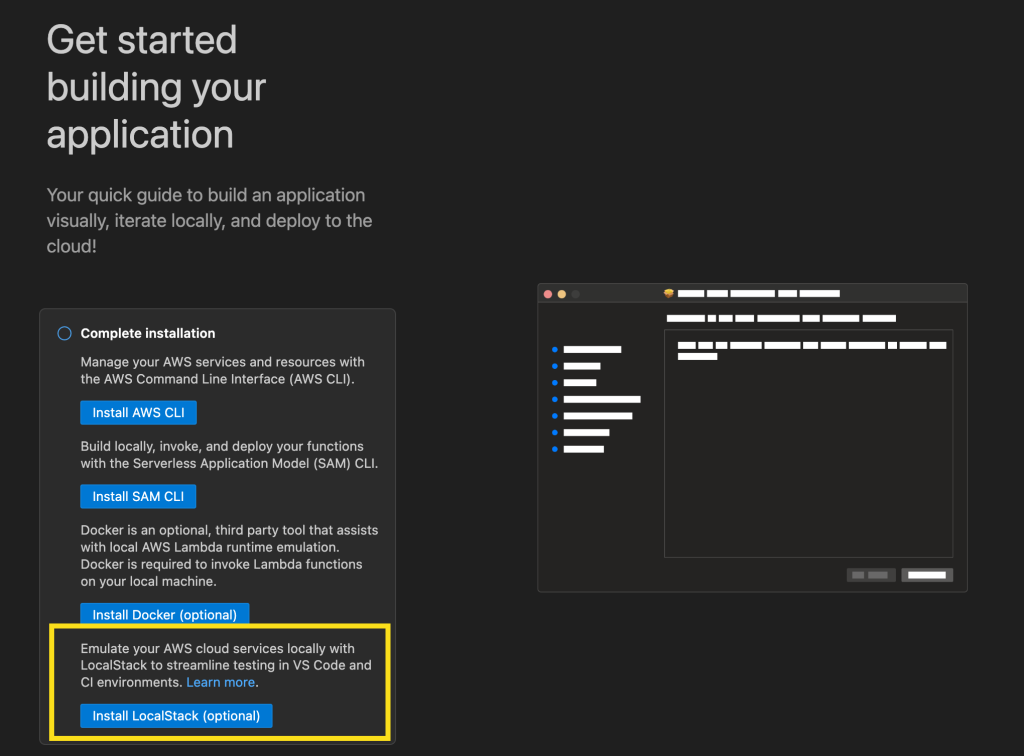
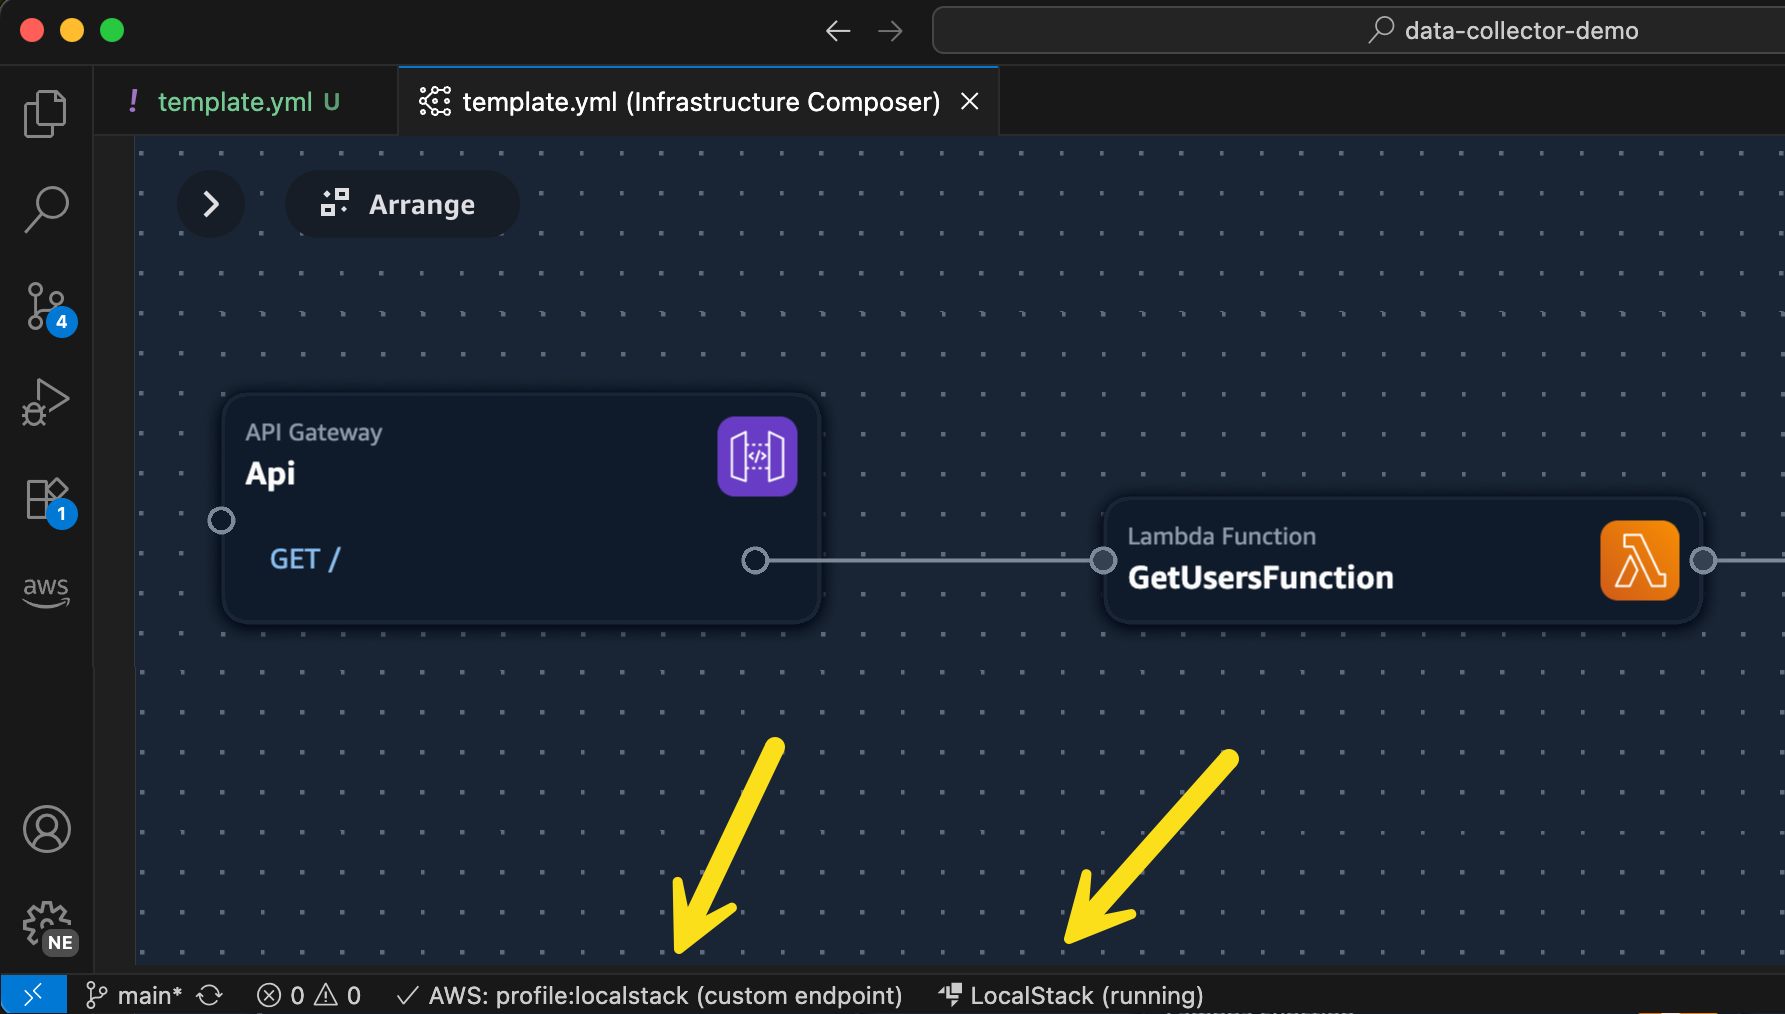
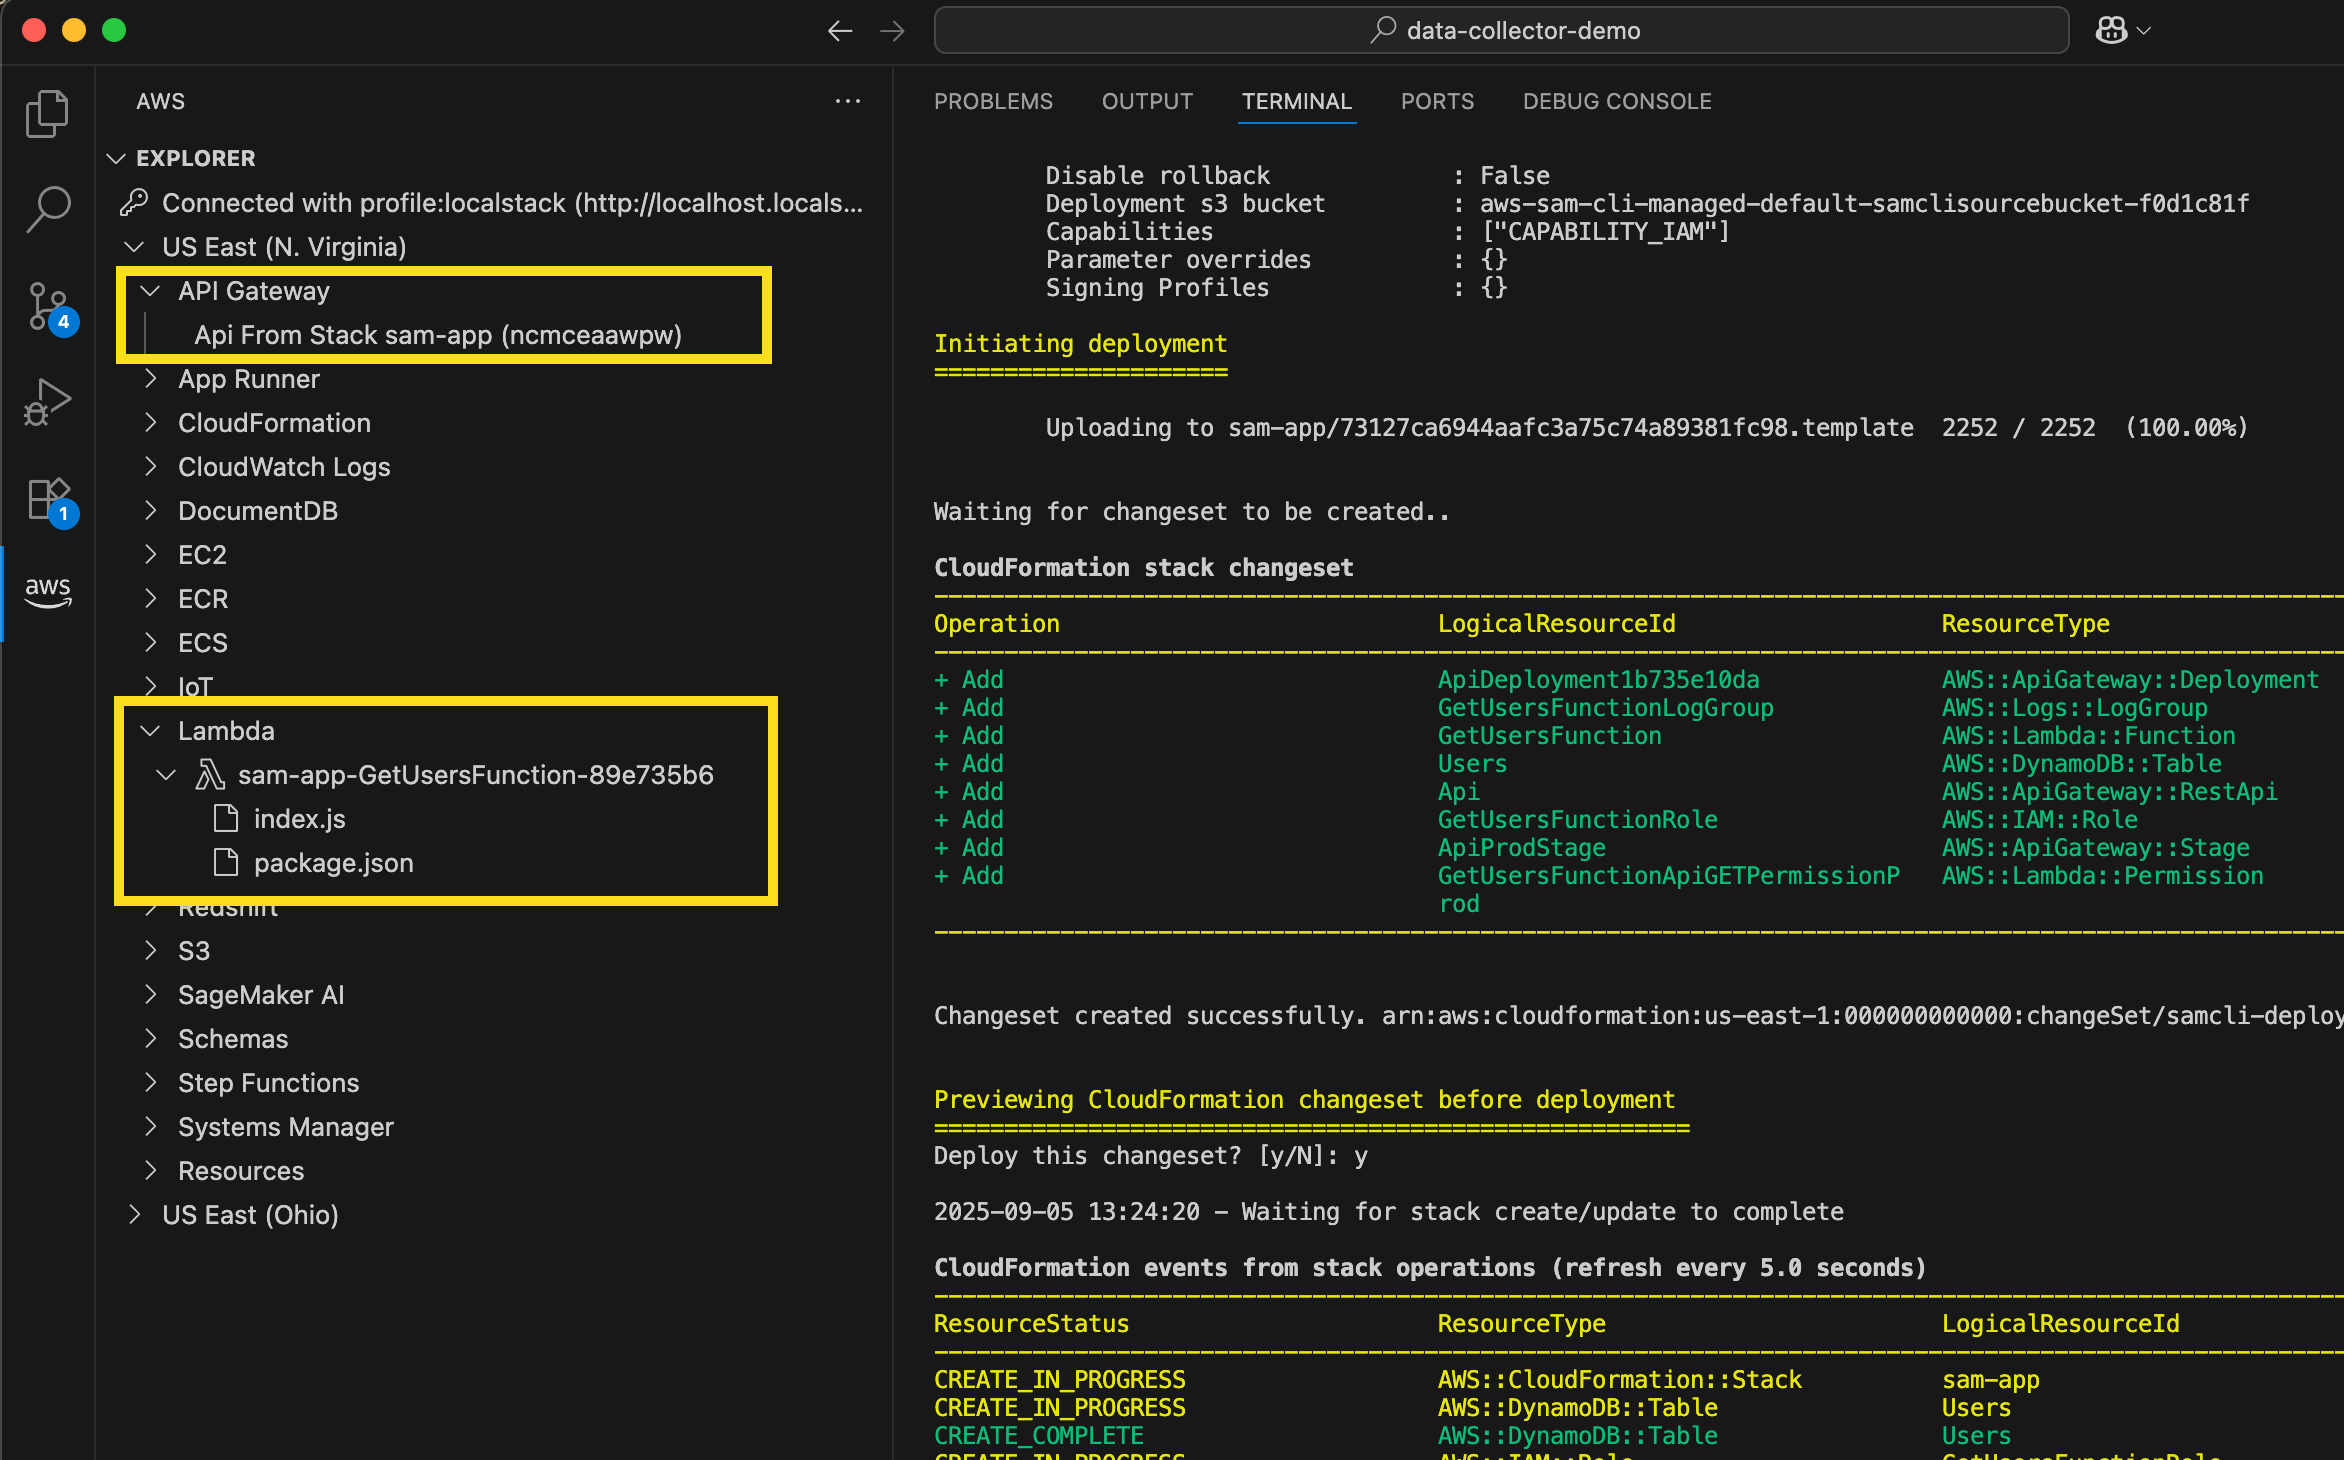
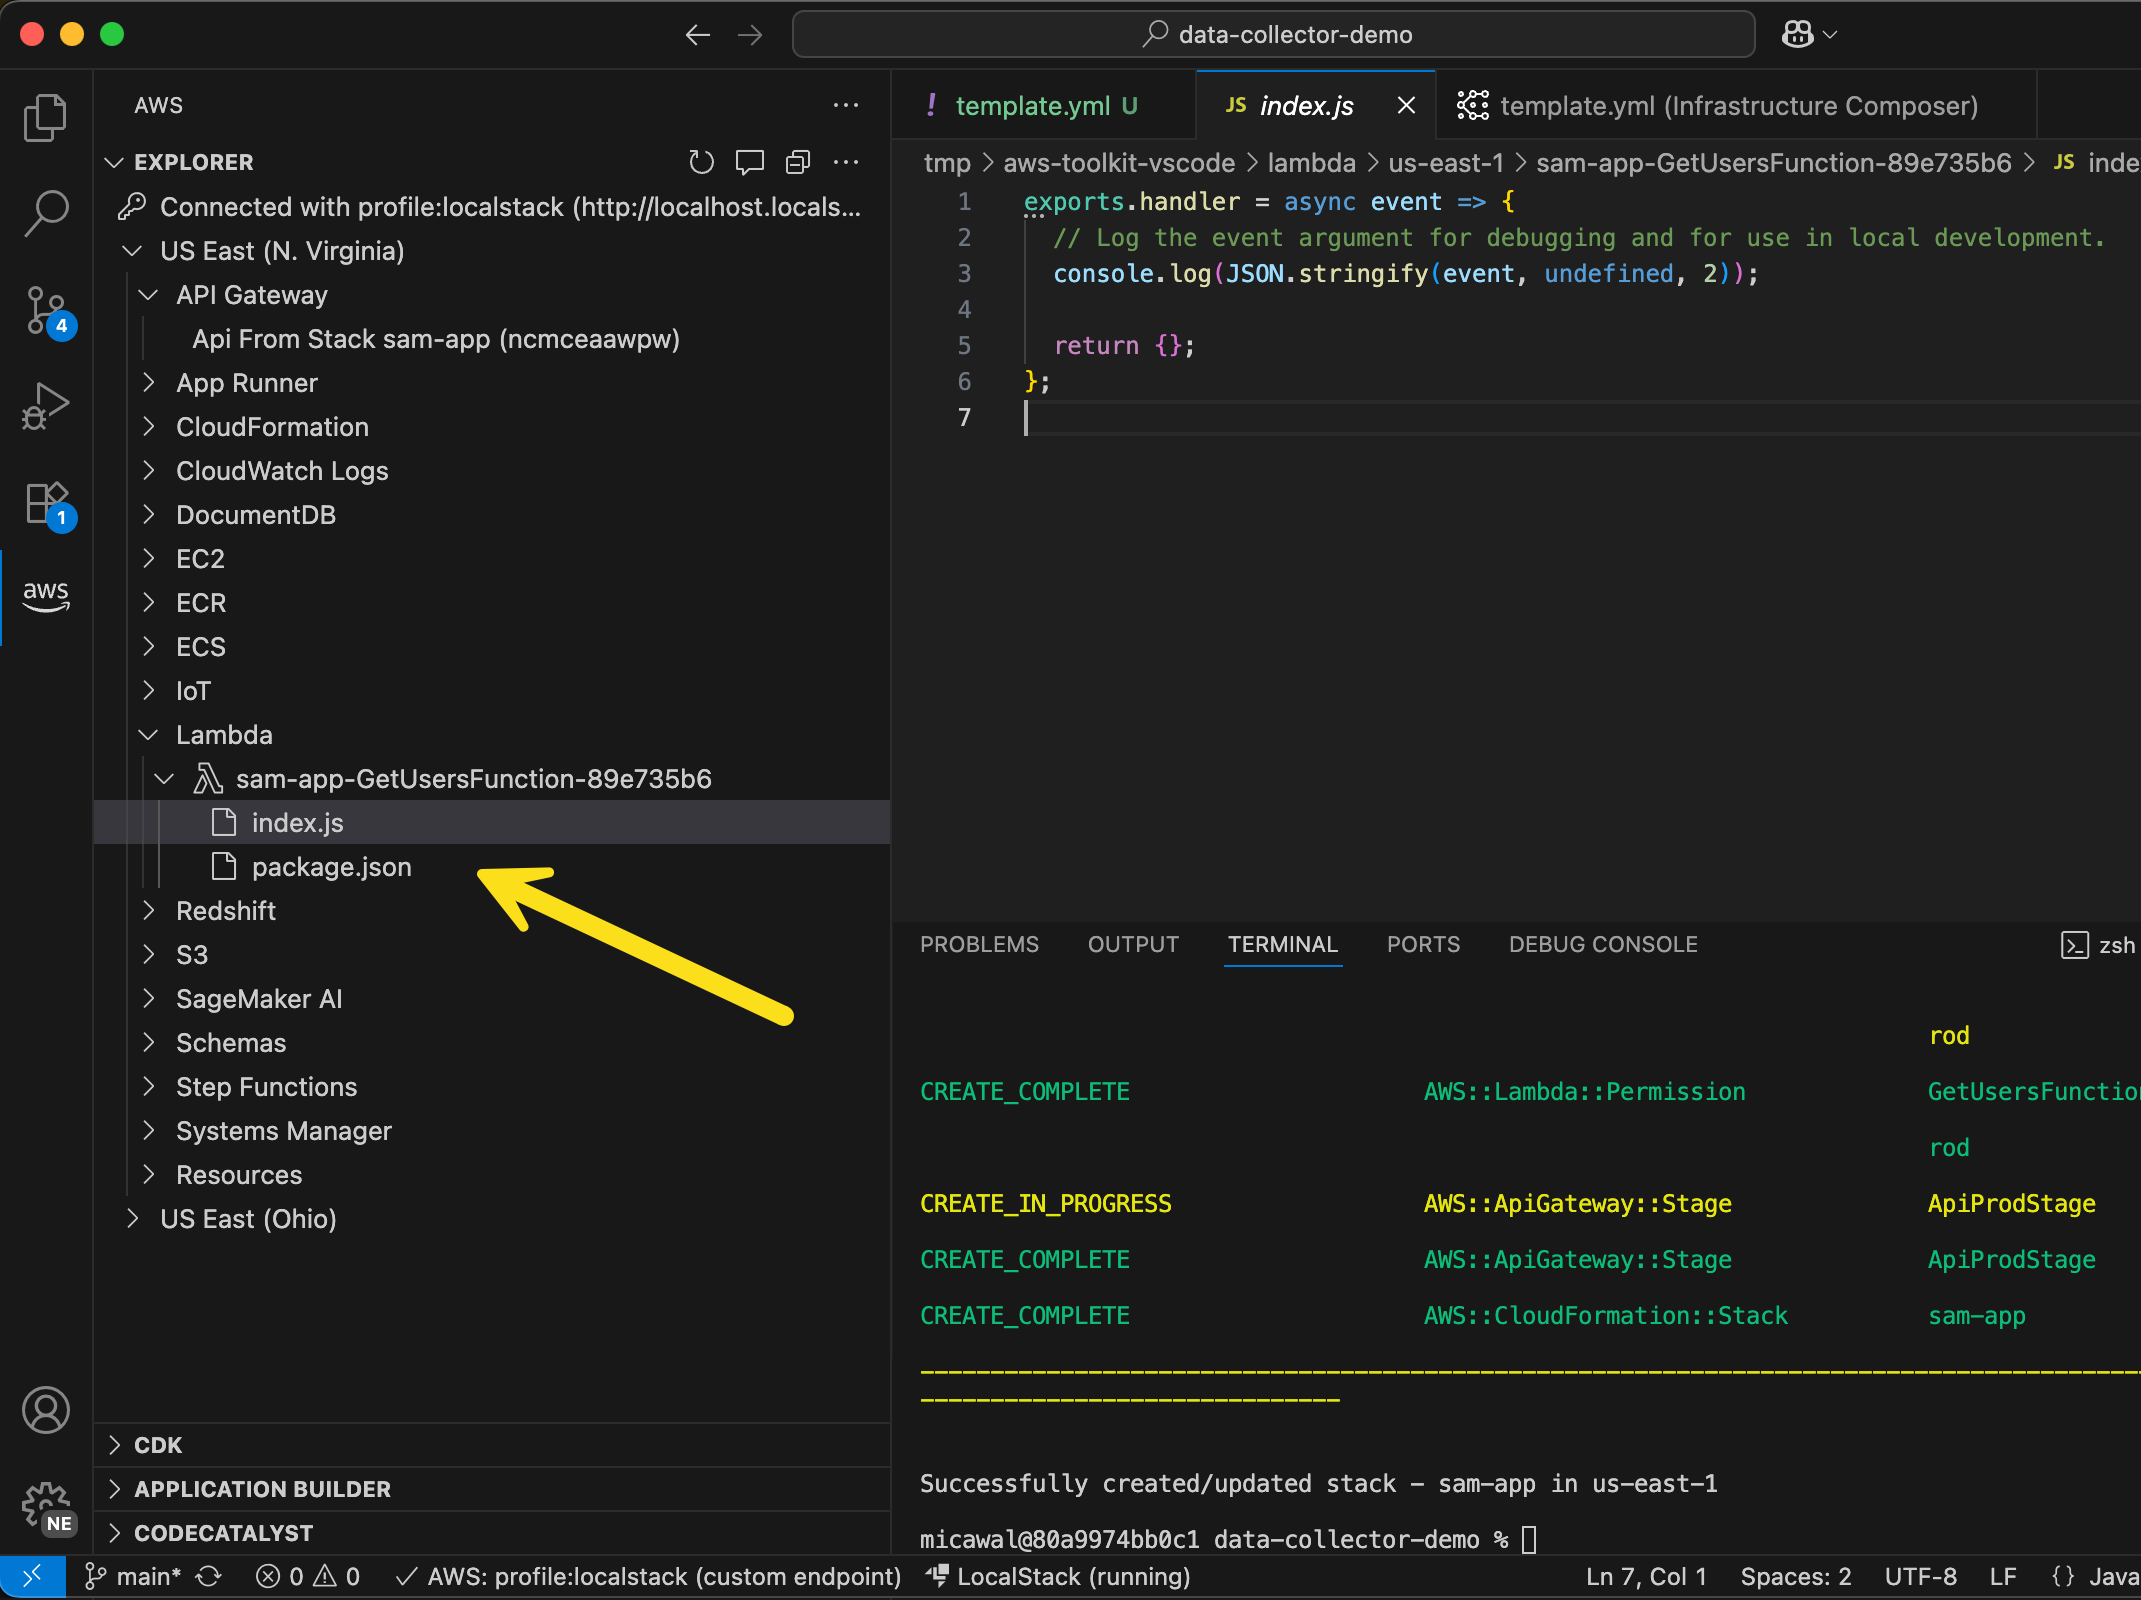
- LocalStack integration in Visual Studio Code (VS Code) – You can use LocalStack to locally emulate and test your serverless applications using the familiar VS Code interface without switching between tools or managing complex setup, thus simplifying your local serverless development process.
- AWS Cloud Development Kit (AWS CDK) Refactor (Preview) –You can rename constructs, move resources between stacks, and reorganize CDK applications while preserving the state of deployed resources. By using AWS CloudFormation’s refactor capabilities with automated mapping computation, CDK Refactor eliminates the risk of unintended resource replacement during code restructuring.
- AWS CloudTrail MCP Server – New AWS CloudTrail MCP server allows AI assistants to analyze API calls, track user activities, and perform advanced security analysis across your AWS environment through natural language interactions. You can explore more AWS MCP servers for working with AWS service resources.
- Amazon CloudFront support for IPv6 origins – Your applications can send IPv6 traffic all the way to their origins, allowing them to meet their architectural and regulatory requirements for IPv6 adoption. End-to-end IPv6 support improves network performance for end users connecting over IPv6 networks, and also removes concerns for IPv4 address exhaustion for origin infrastructure.
For a full list of AWS announcements, be sure to keep an eye on the What’s New with AWS? page.
Other AWS news
Here are some additional news items that you might find interesting:
- A city in the palm of your hand – Check out this interactive feature that explains how our AWS Trainium chip designers think like city planners, optimizing every nanometer to move data at near light speed.
- Measuring the effectiveness of software development tools and practices – Read how Amazon developers that identified specific challenges before adopting AI tools cut costs by 15.9% year-over-year using our cost-to-serve-software framework (CTS-SW). They deployed more frequently and reduced manual interventions by 30.4% by focusing on the right problems first.
- Become an AWS Cloud Club Captain – Join a growing network of student cloud enthusiasts by becoming an AWS Cloud Club Captain! As a Captain, you’ll get to organize events and building cloud communities while developing leadership skills. Application window is open September 1-28, 2025.
Upcoming AWS events
Check your calendars and sign up for these upcoming AWS events as well as AWS re:Invent and AWS Summits:
- AWS AI Agent Global Hackathon – This is your chance to dive deep into our powerful generative AI stack and create something truly awesome. From September 8 to October 20, you have the opportunity to create AI agents using AWS suite of AI services, competing for over $45,000 in prizes and exclusive go-to-market opportunities.
- AWS Gen AI Lofts – You can learn AWS AI products and services with exclusive sessions and meet industry-leading experts, and have valuable networking opportunities with investors and peers. Register in your nearest city: Mexico City (September 30–October 2), Paris (October 7–21), London (Oct 13–21), and Tel Aviv (November 11–19).
- AWS Community Days – Join community-led conferences that feature technical discussions, workshops, and hands-on labs led by expert AWS users and industry leaders from around the world: Aotearoa and Poland (September 18), South Africa (September 20), Bolivia (September 20), Portugal (September 27), Germany (October 7), and Hungary (October 16).
You can browse all upcoming AWS events and AWS startup events.
That’s all for this week. Check back next Monday for another Weekly Roundup!
— Channy